Have you heard of Rug Hooking?!?! If you haven’t and have been thinking about picking up a new creative hobby, this might be the one for you! It is a beautiful craft, that allows you to create beautiful illustrations with just wool yarn, burlap, a hook, and a rug hooking frame.
I was introduced to rug hooking about a year and a half ago, when I saw some beautiful rug hooked pillows in my friends toddlers bedroom. They were so amazing (you can find photos of them in my post called Rug Hooking – Snowy Owl Rug hooking Kit)! I instantly fell in love, and had to know how they were made! I was overjoyed to hear that her mom actually made them!! That meant that I could potentially make one too!!! Her mom was super awesome about teaching me the rug hooking ways, and not only that… She lent me her homemade rug hooking frame to learn on! SCORE! I ended up creating this Snowy Owl Rug Hooked Pillow!

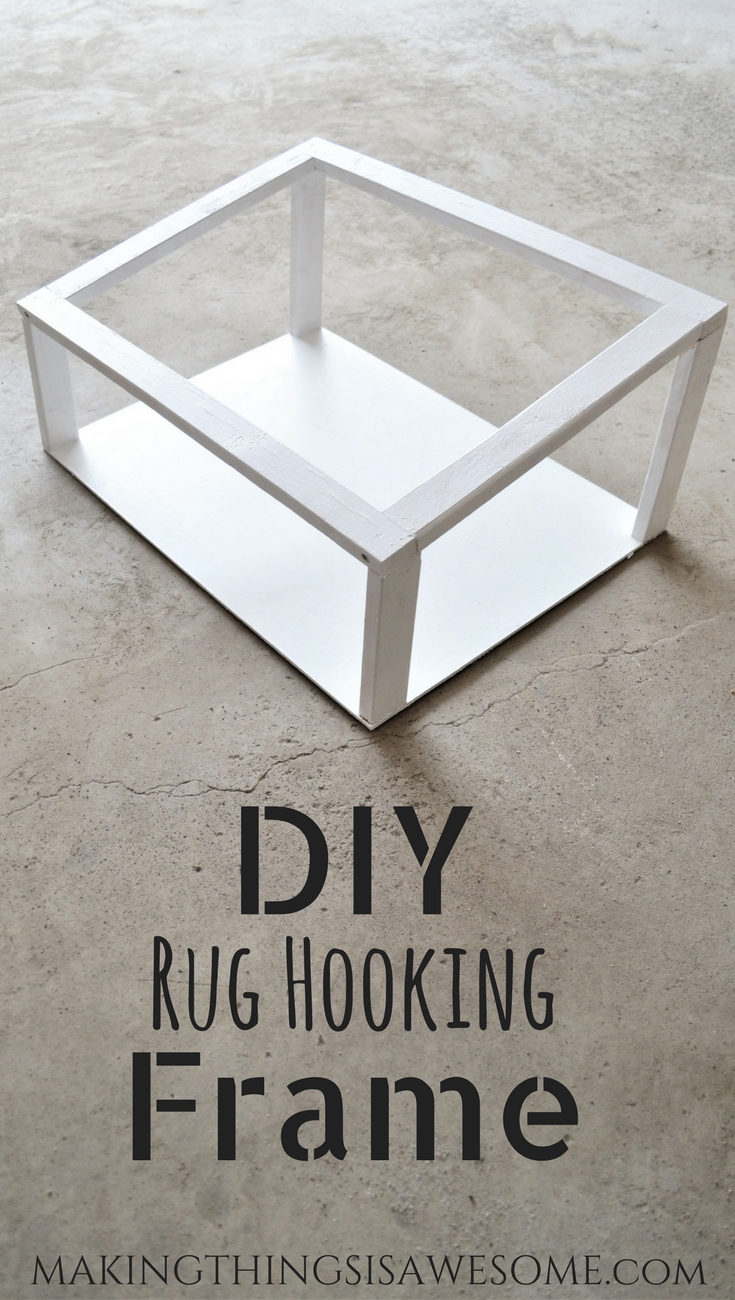
One of the basic tools that you will need to rug hook is a Rug Hooking Frame! You could use an embroidery hoop, but a rug hooking frame that sits on your lap, just makes rug hooking so much more enjoyable and comfortable! My friend’s mom amazingly lent me her homemade lap, rug hooking frame, so that I could learn how to rug hook too! Well, I made sure I figured out how I could make one of these frames for myself too, before I returned her rug hooking frame, about a year later…hehe… oups! Thanks so much for lending it to me!
So this week I had my Shawnikins make me a rug hooking frame for my very own! And we documented the steps, so that I can show you how to make one too!!
DIY RUG HOOKING FRAME TUTORIAL
Supplies Needed to Make a Rug Hooking Frame
- 1 inch by 1/2 inch Wood (I used pine, and you will need 92 inches of this wood, which is 7 feet and 8 inches)
- 1 Thin Flat Wood Board (once cut, the board will be 14 inches by 20 inches)
- Saw
- Nails or Nails for Nail Gun
- Hammer or Nail Gun
- Screws
- Drill
- Wood Glue
Method to Make a DIY Rug Hooking Frame
Step 1: Cut your wood to size! You will need:
- 2 back legs that will be 8 inches long with one of the ends cut at a 10 degree angle. (One side is a 1/4 inch shorter than the other)
- 2 front legs that will be 6 inches long, these too will have one end cut at a 10 degree angle. (One side is a 1/4 inch shorter than the other)
- 2 20 inch pieces that will make the front and back top pieces (no angles needed)
- 2 side top pieces will be 12 inches long (no angles needed)!
- You will also need to cut your flat bottom board to 20 inches by 14 inches (photo later in the post)
- Like these pieces of wood below…
- NOTE: The slight angle on the top of all the leg pieces (4 pieces in the middle of the photo below)

Step 2: Attach the 2 front leg pieces together by using wood glue, and a nail gun to attach the top front piece to the ends of the front legs. Repeat this step for the back top piece and the 2 back legs! Like this…

Step 3: Attach the top side pieces to the front and back pieces that you just made in step 2. If you have a nail gun that shoots 1 1/2 inch nails then use the nail gun but our nails were too short, so we used screws and a drill! Remember to use wood glue between all of your wood connections before you nail or screw them together for better support! Like this…

Step 4: Lay your top frame on top of your flat board, and trace its shape onto the flat board. Then cut these exact measurements! Like this… Then cut your board to size. (The cut size should be around 20 inches by 14 inches if all your measurements are the same as mine)

Step 5: Attach flat bottom board to the frame! Flip the frame upside down and put wood glue on all 4 ends. Then place flat board on top, and use your nail gun to nail the board into the legs of the frame! Like this…


DONE!!

Or if you are like me and love pretty crafting supplies… paint it white! LOL… or any colour you like. You could also stain it if you want. You really don’t need to do anything to it though. Now I just need to find some burlap, and start creating my own designs!


How to Use Your New DIY Rug Hooking Frame
So to use this frame, all you do is lay your project over the top of the frame and use thumb tacs to tightly secure it to the wood frame. Use thumb tacs about every couple inches all the way around your project. Don’t worry, the wood of the frame is soft enough for your tacs to be pushed into it without killing your fingers. You can just remove the tacs and move your project, then re-tac it down to work on different areas of your project!
So I guess your project backing needs to at least be the same size as the frame. If you are thinking of creating a smaller project, you could just modify this tutorial to make your frame smaller! (wink)
Enjoy Rug Hooking!
I hope this tutorial has helped you in achieving your crafting dreams! LOL! I’m so glad that there was a DIY rug hooking frame option available, so that I didn’t have to invest a lot of money upfront, for a craft that I am not sure I would love doing! Like a lot of other crafts I would like to try!
I hope you try rug hooking! It’s surprisingly easy once you get the hang of it, not hard to learn, pretty quick to create, and makes the most beautiful homemade creations! Until next time, enjoy learning this fun craft, and creating beautiful things everyday!
XO JCL
P.S. Here is the link to make of my rug hooking creations!
P.P.S. Here are some links to the other rug hooking supplies that you will need, and they can all be found on amazon.com. So that you can get to creating as soon as possible! (wink)


First let me say I love your blog name. You are right , Making things IS awesome. This is a really cool DIY I gotta check you site to see if yo7 have more diy rug patterns and ideas, this topic has inspired me ?
Thanks so much Jen!! Made my day! Here is the link to my other rug hooking projects! http://makingthingsisawesome.com/category/diy/rag-rugs-diy/
I love inspiring creativity in others! I’d love to see you creations, as I am always inspired by others ideas too! Have an awesome day!
I have done rug hooking before, but on a much smaller scale. Love the idea of this as rug hooking is always so peaceful to me.
Awesome! Thanks Jennifer! Yes it is so peaceful! I have really been enjoying it. I’d love to see your creations!!
Will definitely put this on my DIY list.
Awesome! Thanks Shoma! Rug Hooking a fun craft with endless possibilities! Have fun creating!
This looks so handy! I love how you put it at an angle!
Thanks Katie! Yes! The angle is important for more comfort on your back as you create your masterpiece!
I am totally not crafty at all so thank you so much for breaking these steps down for us!!
Anytime Lauren! Thanks for the comment! Enjoy creating!
What a cool tutorial, I’ve never tried rug hooking, but have always been interested in giving it a shot – the owl is so cute!
Thanks so much Cass! You so should try it. It’s a lot of fun, and you can create such cute projects!